🎮
升级urp👉插件搜 universal
去除摩尔纹,在渲染管线设置把depth bias拉到最大
🔧
在资源内添加
rendering 👉universal render pipline👉pipline asset(不必重命名,但最好新建个文件夹把他们放在一起)
选择渲染器project settings👉graphics&quality 的可编辑渲染管线都选择刚刚创建的
至此一个环境配置好了,现在可以导入一些素材 要确保素材支持urp-通用 或者 lwrp-轻量
一些设置
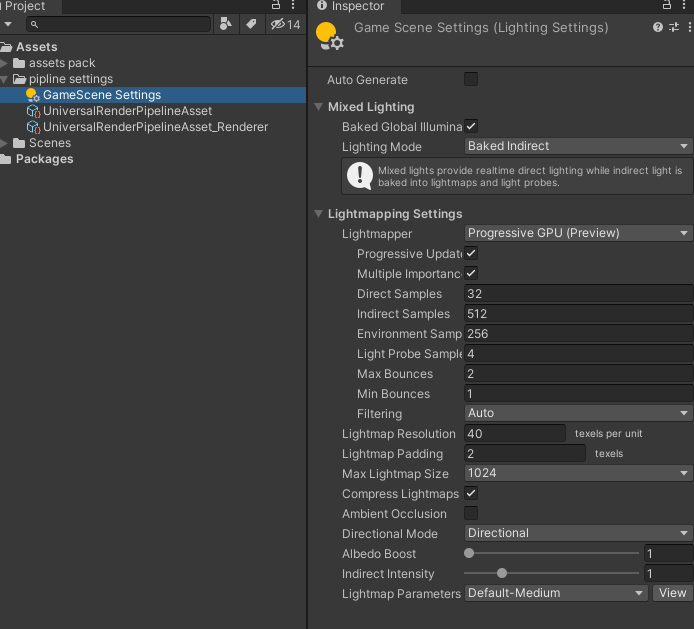
影子渲染 👉在pipline settings内的第一个文件内设置 选择shadow 后期都可以调节,比如对抗锯齿 阴影啊、、不满意的话回来再调
场景的灯光设置
顶点自动吸附 移动时候按住v键 (选择变成那个正方形)
使用poly brush 创造一个 low poly的风格环境
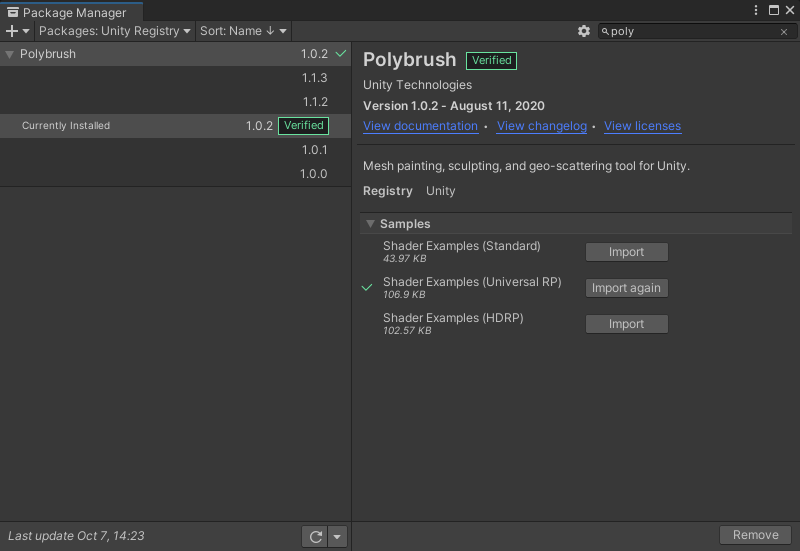
使用urp选择第二个,留意括号内的说明
管理project 创建一个addon文件 把polybrush这个插件拖拽进去
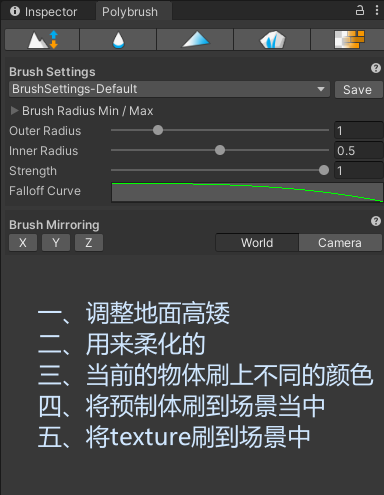
polybrush的功能
brush mirroring 对称刷
创建多顶点的平面
需要安装一个插件 probuilder
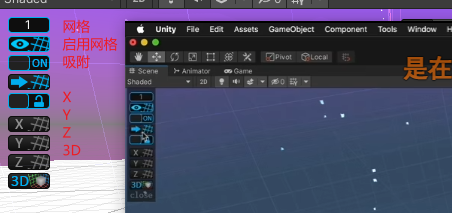
progrids
在场景中多一些参考线
烘焙地图
其实就是设置障碍物不可越过等等
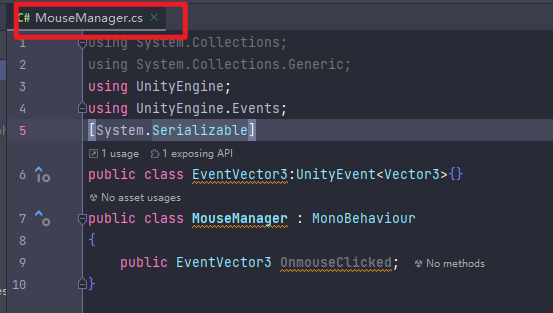
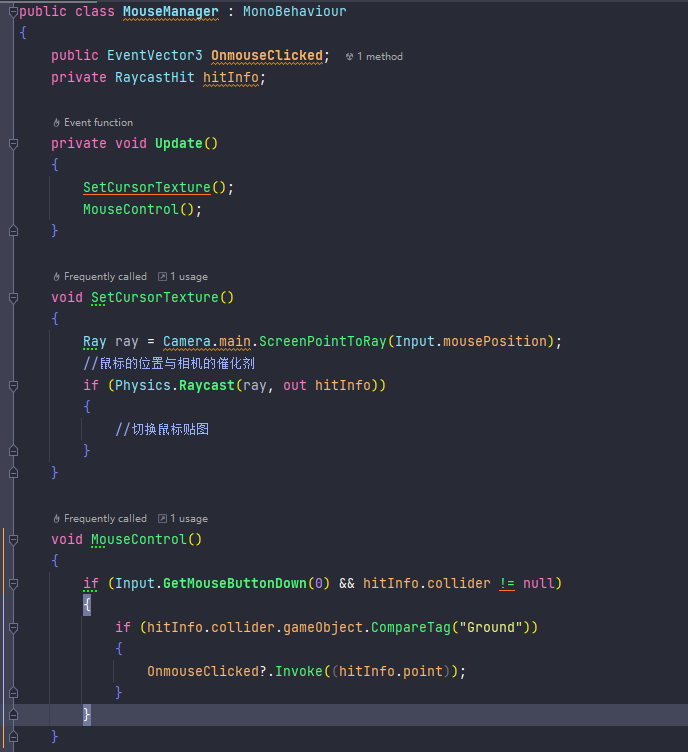
第一个脚本 mouse manager
前期准备 //将坐标传进去
1
2
3
4
5
6
7
8
9
10
11
12
13
14
15
16
17
18
19
20
21
22
23
24
25
26
27
28
29
30
31
32
33
34
35
36
37
38
39
40
41
42
43
44
45
using System;using System.Collections;using System.Collections.Generic;using UnityEngine;using UnityEngine.Events;[System.Serializable ] public class EventVector3 : UnityEvent <Vector3 >{ } public class MouseManager : MonoBehaviour { public EventVector3 OnmouseClicked; private RaycastHit hitInfo; private void Update () { SetCursorTexture(); MouseControl(); } void SetCursorTexture () { Ray ray = Camera.main.ScreenPointToRay(Input.mousePosition); if (Physics.Raycast(ray, out hitInfo)) { } } void MouseControl () { if (Input.GetMouseButtonDown(0 ) && hitInfo.collider != null ) { if (hitInfo.collider.gameObject.CompareTag("Ground" )) { OnmouseClicked?.Invoke((hitInfo.point)); } } } }
请留意要修改一下地面ground
06 改进mouse manager 单例模式
1
2
3
4
5
6
7
8
9
10
11
12
13
14
15
16
17
18
19
20
21
22
23
24
25
26
27
using System;using System.Collections;using System.Collections.Generic;using UnityEngine;using UnityEngine.AI;public class PlayerController : MonoBehaviour { private NavMeshAgent agent; private void Awake () { agent = GetComponent<NavMeshAgent>(); } private void Start () { MouseManager.Instance.OnMouseClicked += MoveToTarget; } void MoveToTarget (Vector3 target ) { agent.destination = target; } }
1
2
3
4
5
6
7
8
9
10
11
12
13
14
15
16
17
18
19
20
21
22
23
24
25
26
27
28
29
30
31
32
33
34
35
36
37
38
39
40
41
42
43
44
45
46
47
48
49
50
51
52
53
54
55
56
57
using System;using System.Collections;using System.Collections.Generic;using UnityEngine;using System;public class MouseManager : MonoBehaviour { private RaycastHit hitInfo; public static MouseManager Instance; public event Action<Vector3> OnMouseClicked; private void Awake () { if (Instance != null ) { Destroy(gameObject); } Instance = this ; } private void Update () { SetCursorTexture(); MouseControl(); } void SetCursorTexture () { Ray ray = Camera.main.ScreenPointToRay(Input.mousePosition); if (Physics.Raycast(ray, out hitInfo)) { } } void MouseControl () { if (Input.GetMouseButtonDown(0 ) && hitInfo.collider != null ) { if (hitInfo.collider.gameObject.CompareTag("Ground" )) { OnMouseClicked?.Invoke((hitInfo.point)); } } } }
以上代码就是在PlayerController注册了一个事件给MouseManager,在MouseManager会一直执行将投线的坐标传入小狗的寻路终点。
修改指针贴图
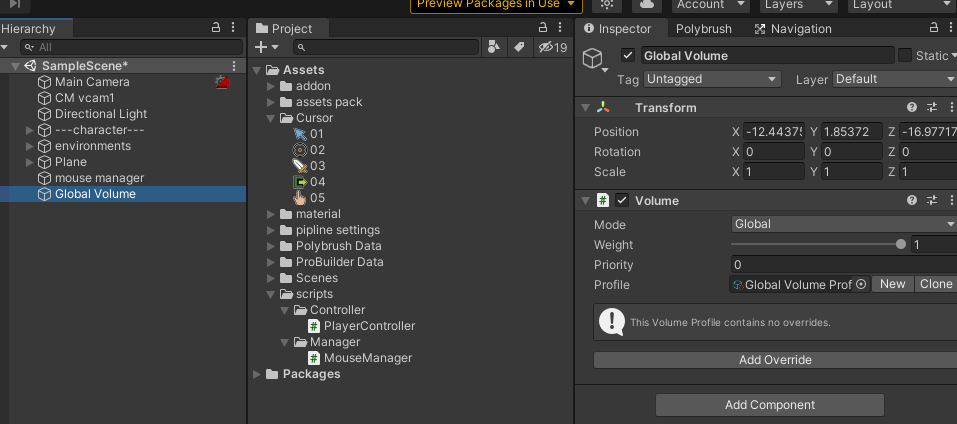
需要先将图片纹理类型设置成 cursor
先在MouseManager.cs设置图片的变量 类型为Texture2D
之前留了一个鼠标贴图的位置,现在填上
1
2
3
4
5
6
switch (hitInfo.collider.gameObject.tag) { case "Ground" : Cursor.SetCursor(target,new Vector2(16 ,16 ),CursorMode.Auto); break ;
07 摄像机跟随和后处理 视野 field of view
摄像机离主角的距离 camera distance
需要安装cinemachine (经典的虚拟相机)
Body设置为Framing transposer
aim设置为 do nothing
然后follow主角
加入迷雾
scene启用
然后去environment启用迷雾
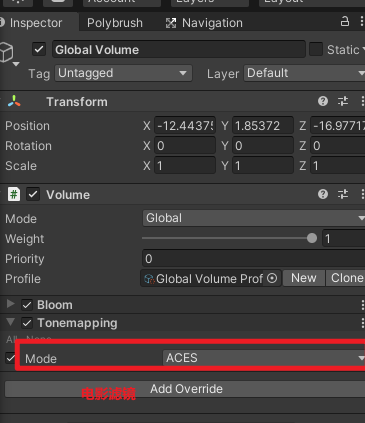
重要增加画质的启用Post Processing
电影滤镜
添加曝光👉color adjustment 调整 post exposure
畸变👉chromatic aberration
景深👉 depth

